It’s nice that you decided to try out Whid! Please let us know about your experience using the support form.
Create your first task!
Tracking a task with Whid is super easy! Press ⌘ .: this should open the compact tracker window.
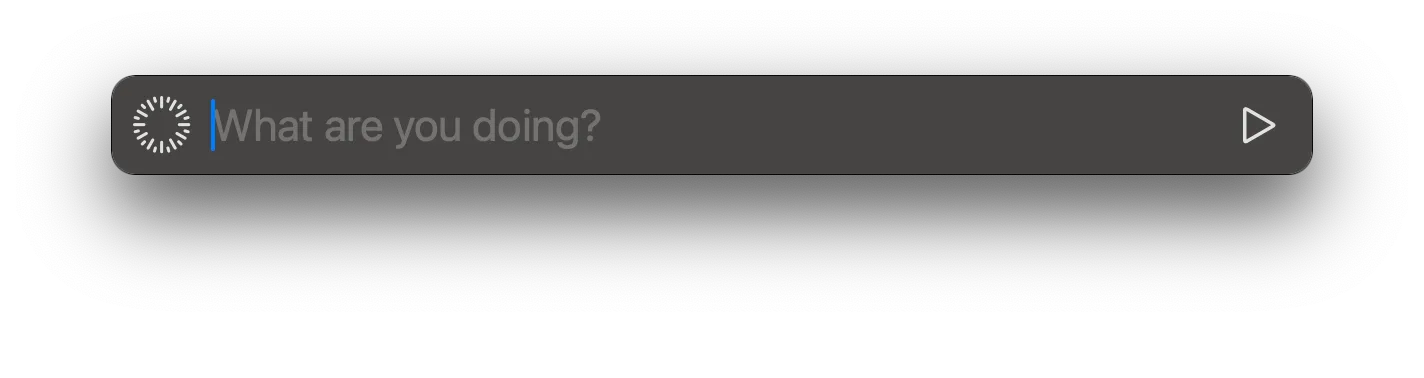
You can type the name of the task that you are working on, for example “Showcase Whid”, and press Enter. This will start tracking your time.

You can check how much time was tracked so far if you reopen the compact tracker by pressing the shortcut.
You can stop tracking by reopening the compact tracker, and pressing Enter, without typing anything.
If you type a new task and press Enter while a task is still being tracked, Whid will stop tracking the previous task and start tracking the new task.
Use some commands!
If you forgot to start your task or you are accidentally tracking the wrong task, because you started working on something else, you can use the compact tracker window to adjust your tracked times.
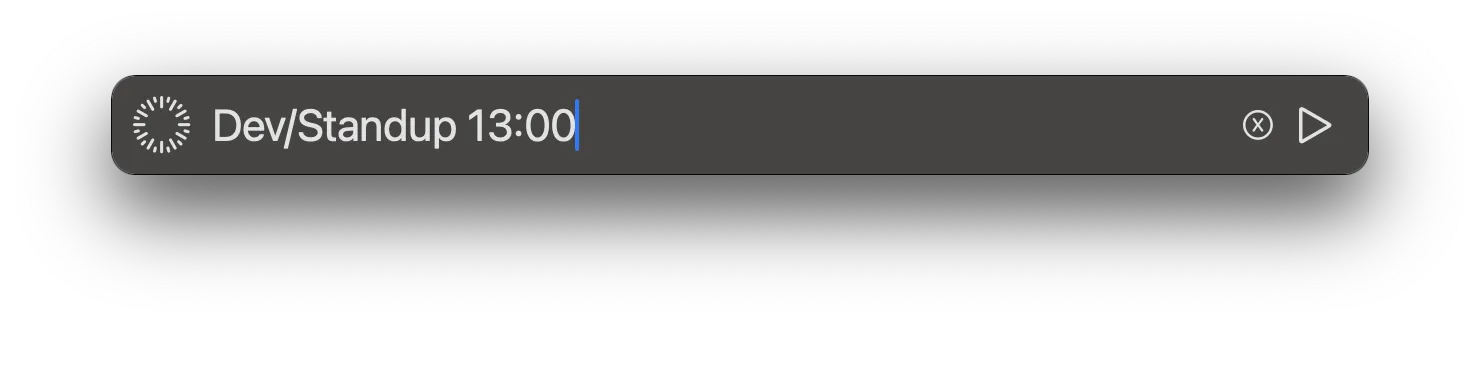
Let’s assume that you started your meeting at 13:00, but you forgot to start tracking, and the meeting is already going. No worries, just type the task name in the compact tracker, and add the start time afterwards, e.g. “Dev/Standup 13:00”. This will move back the start time of your current task to 13:00. If you had another task running, it will also be closed at 13:00.
For a full list of commands, please check our Short Commands page.
Prepare Whid for syncing PRO
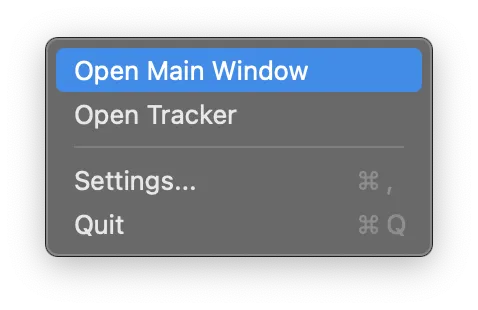
Currently Whid supports syncing the times to seven systems: Jira, ClickUp, Asana, Clockify, YouTrack, Toggl Track and PDash. Before using the sync feature, you have to set the credentials in Settings > Profile. You can open it by right clicking on the tray icon of Whid and selecting Settings. For detailed instructions on the setup, please open the documentation of the corresponding target system.
Sync to a project management system PRO
You can open the sync overlay from the Main Window. To open the Main Window, you can right click on the tray icon and select the Main Window.
In the Main Window, click on the “Sync times” button in the upper right corner. This opens the sync overlay.
For each task you can enter a sync ID and select the target sync system. For a detailed description on how to set the sync IDs, please refer to the the documentation of the corresponding target system. In this example we sync to Jira Cloud using the WHID project to the issue with the ID WHID-1.
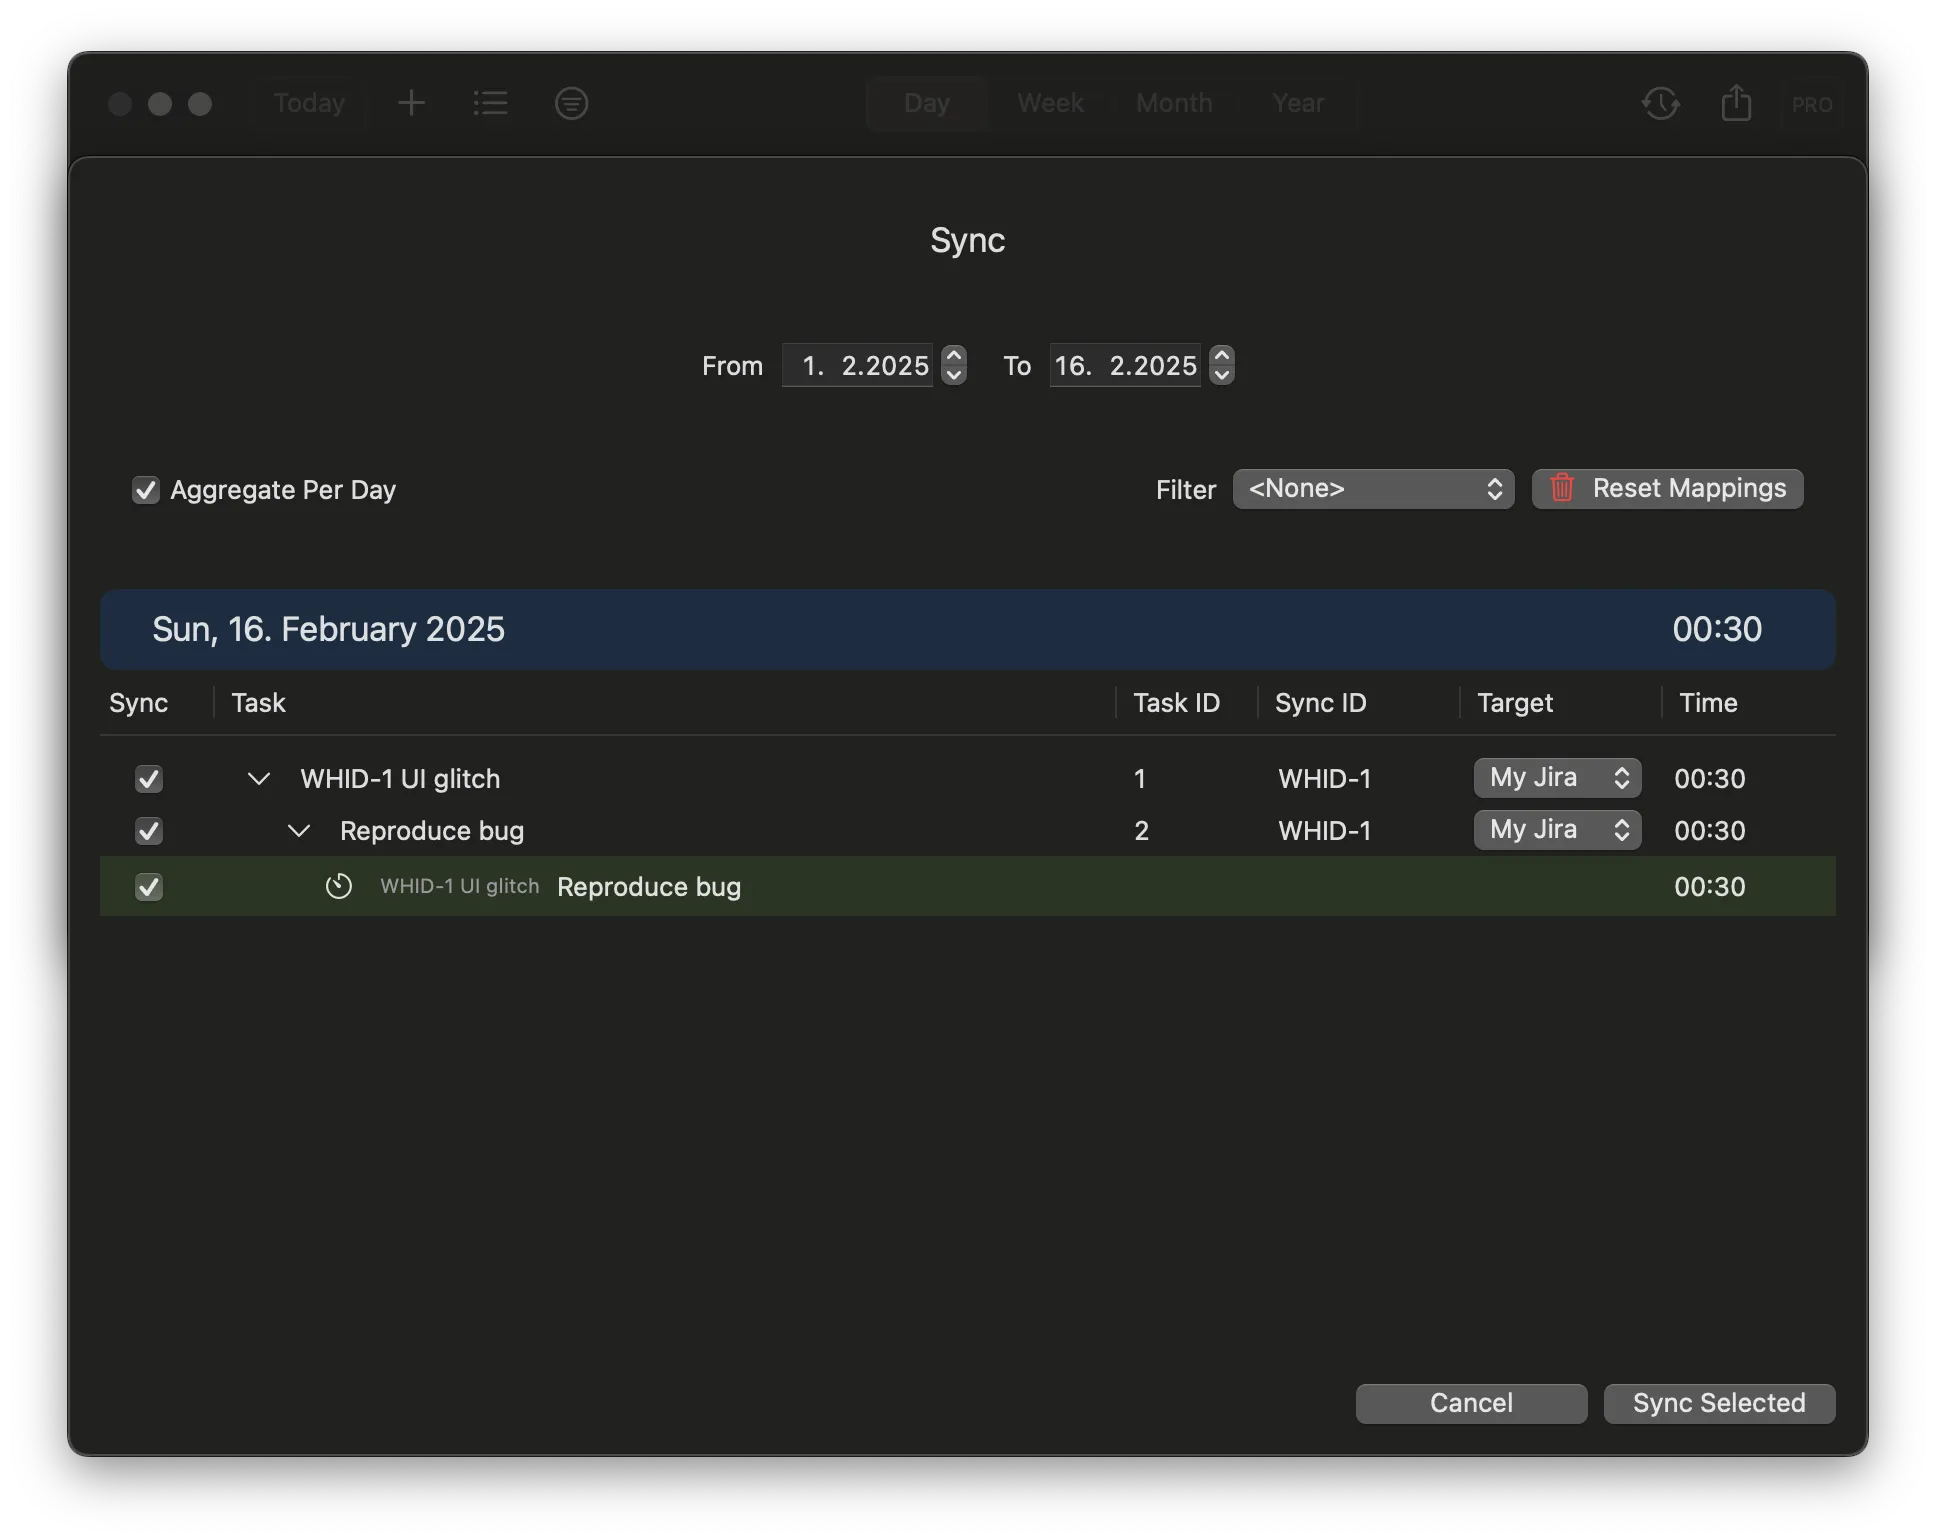
You can leave those fields empty where you don’t want to sync. The sync IDs of the children tasks are automatically filled with the parent task IDs, but you can override them.
After selecting which entries you would like to sync and filling the corresponding sync IDs, you can click on “Sync selected”.
Weekly Calendar
To get a quick overview of your week, switch to the Calendar in the sidebar. It lays every time frame of the selected week onto a familiar day-by-hour grid, so you can see at a glance how your time was spent, and spot any gaps or overlaps you might want to fix.
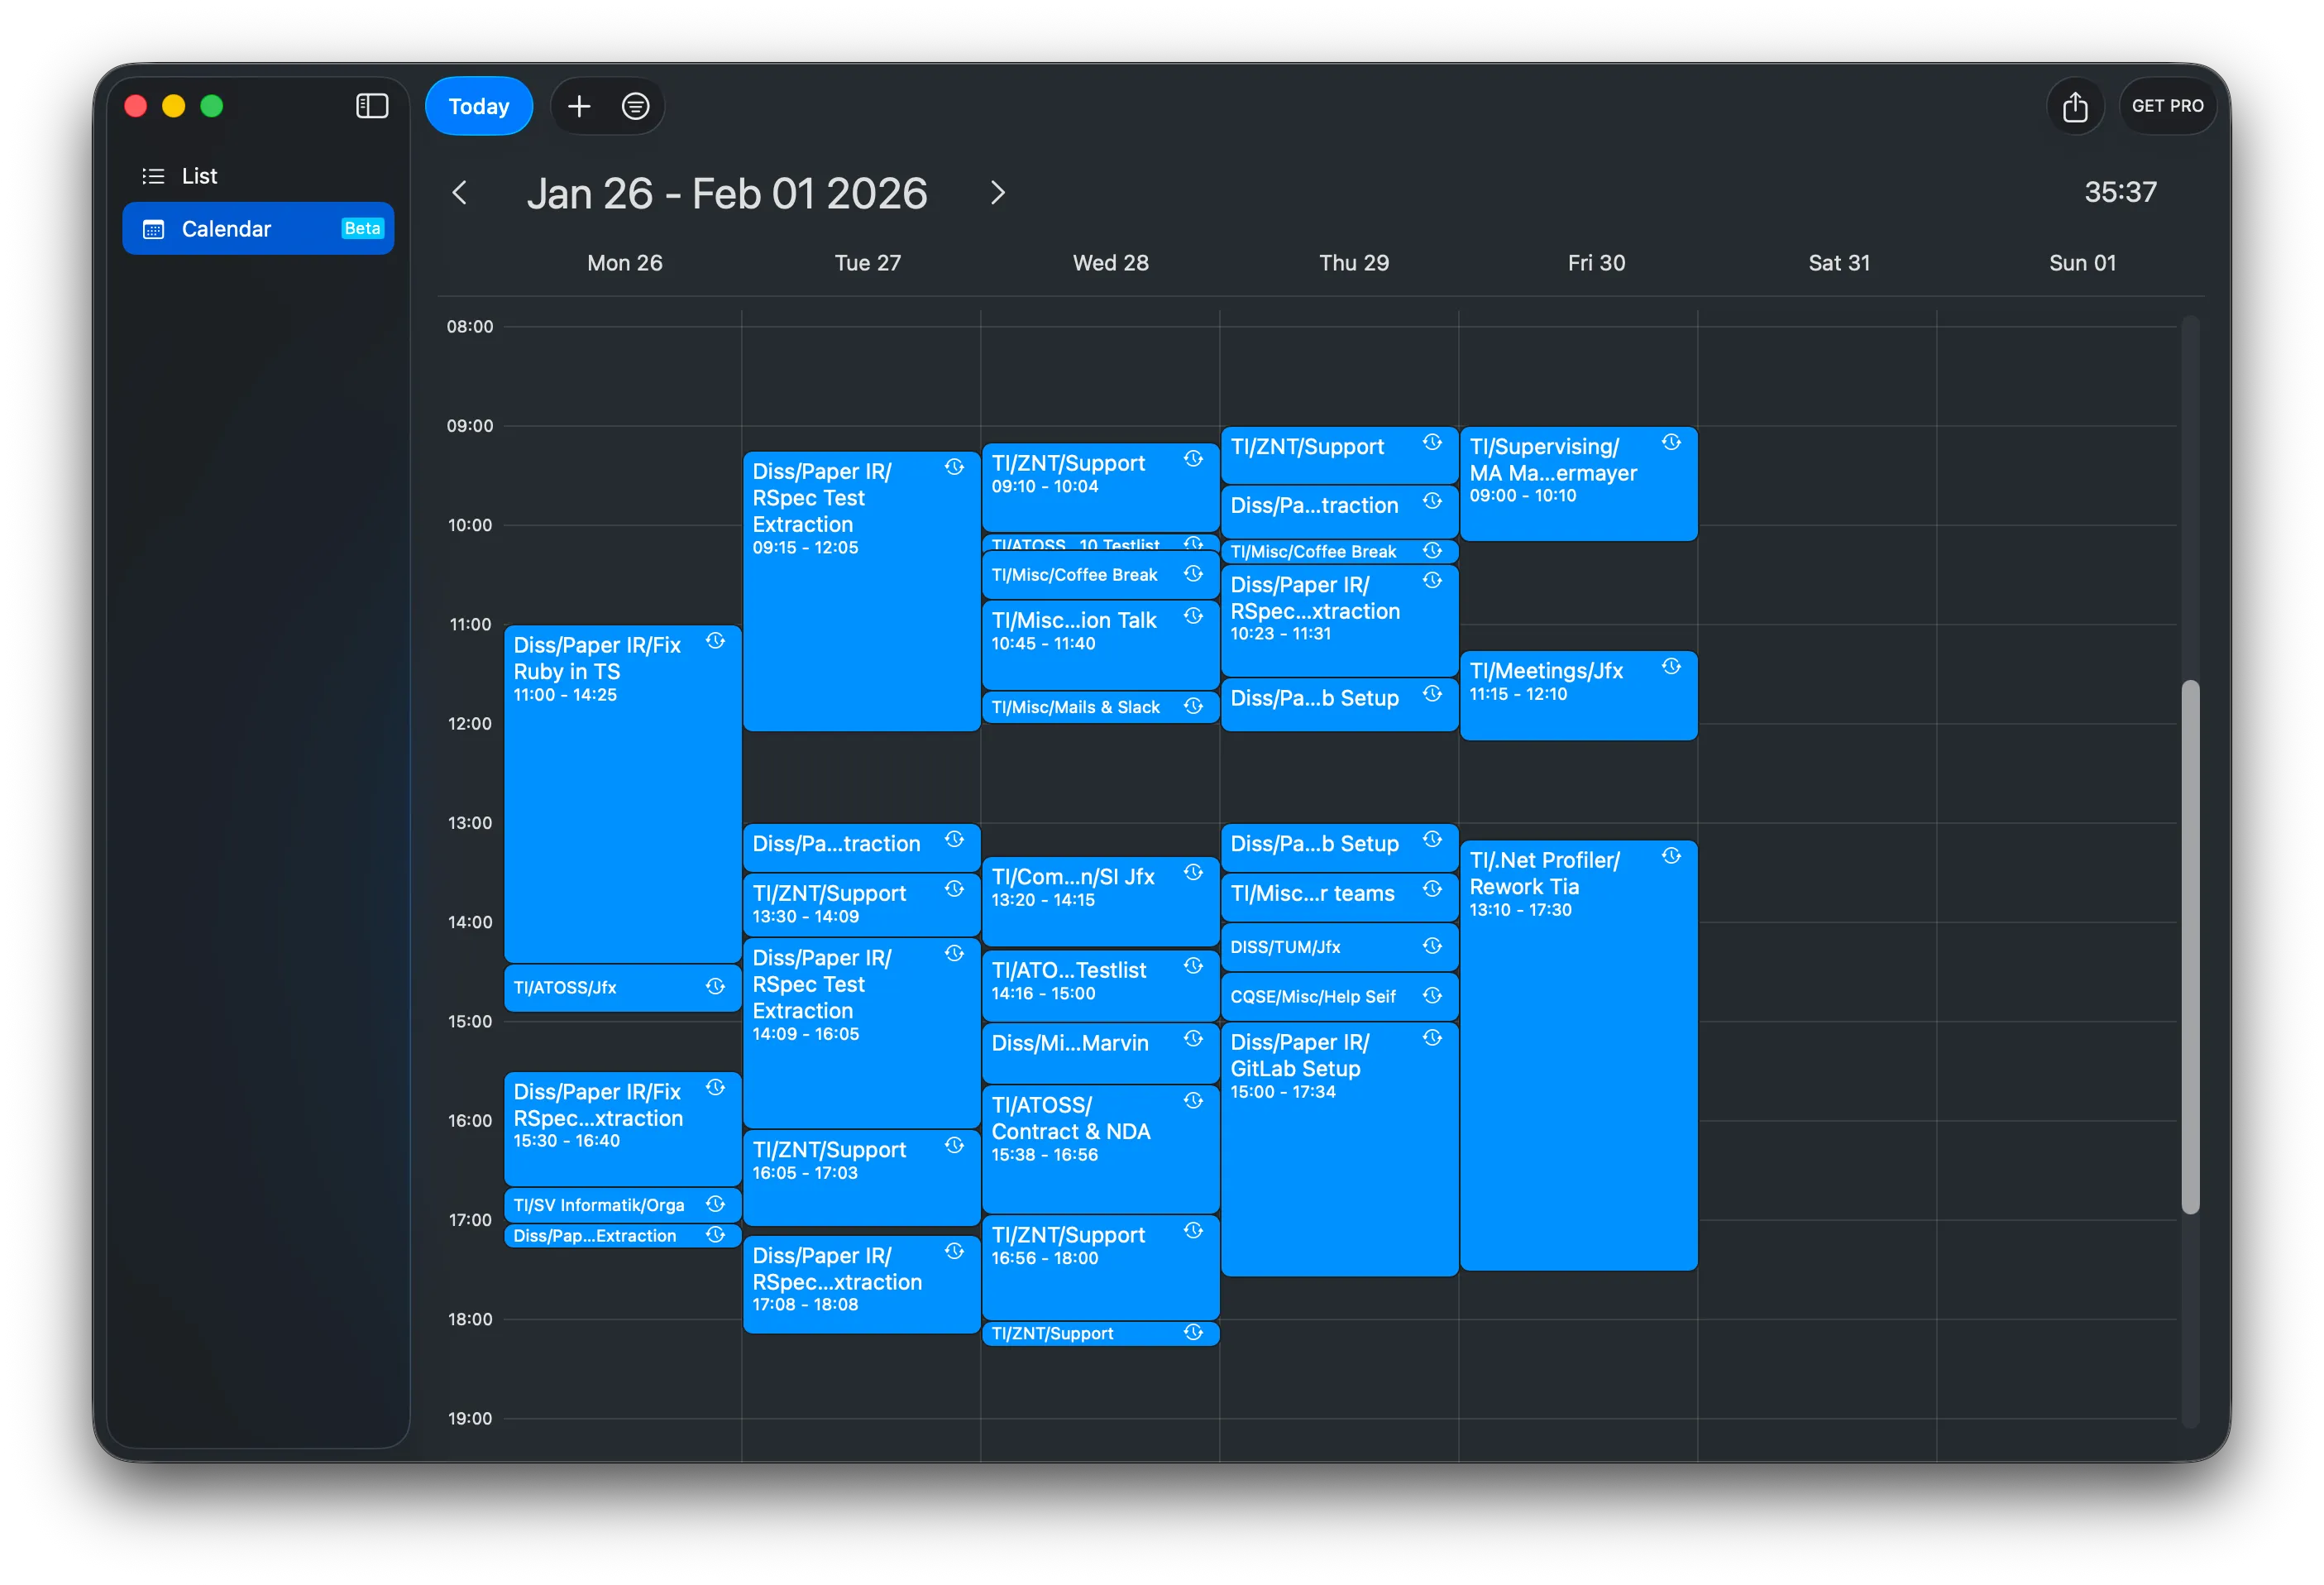
Each entry shows the task name and its start–end time, and is colored by its top-level task (e.g. everything under “Work” shares one color), which makes it easy to read how your day was split across projects.
Edit your week in the calendar PRO
With Whid PRO the calendar becomes fully interactive, so you can fix up your week right where you see it instead of jumping to the Main Window:
- Create an entry by dragging across an empty spot.
- Move an entry by dragging it.
- Resize an entry by dragging its top or bottom edge.
Hold ⌥ while dragging to copy an entry instead of moving it, and hold ⇧ to drag by the minute rather than snapping to the default 5-minute steps.
Troubleshooting
Validation or sync fails
Please check that you use the correct URL, correct credentials and that you are connected to the internet.
I started the wrong task! 😱
You can use the /move command to move all the time that you have already tracked (/move Dev/Other Task). If you would like to just drop the time that you have tracked so far, you can also enter the /cancel command. For any further adjustments you can use the Main Window.
I booked my task with the wrong duration…
If you haven’t synced the booked time yet, you can fix all bookings in the Main Window.
If you have already synced it, there is no option to resync the time frames. In this case you have to adjust the duration manually in the target sync system.
I have entries in the Main Window that don't appear in the sync view.
The entries will not appear in the following cases:
- The entry points to the task that is currently being tracked. Only closed time frames can be synced.
- The entry has a negative duration.
- The entry was already synced. You can check that in the Main Window: it will show a green sync icon on the right side.
Whid displayed that the sync was successful, but nothing appeared in Jira / ClickUp / Clockify / …
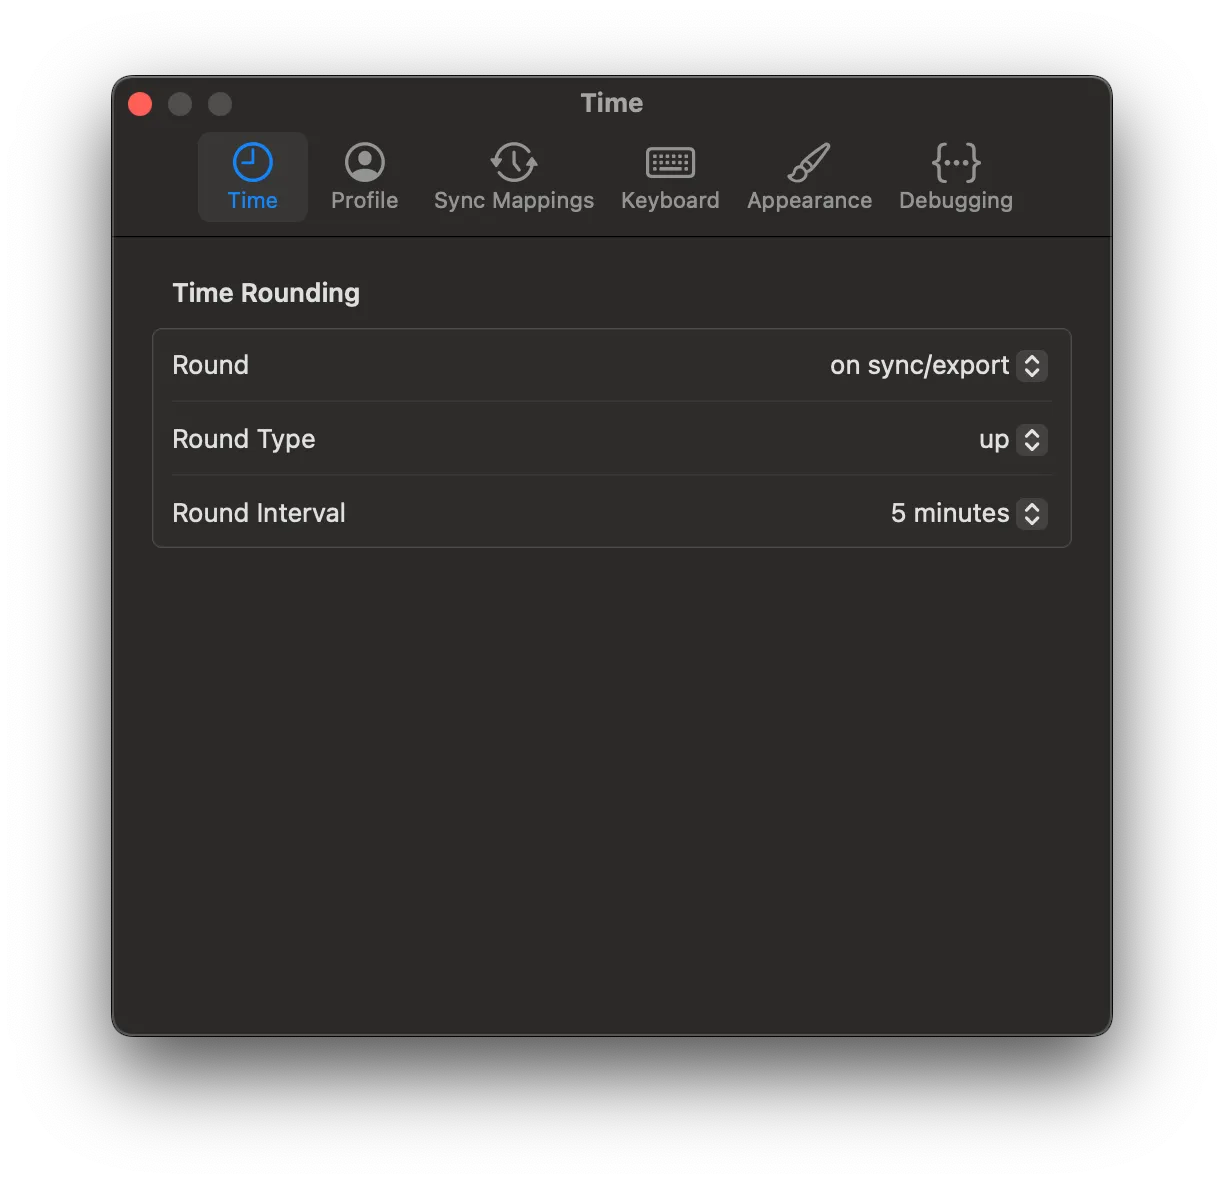
Entries with non-positive durations are dropped during the sync. Please double-check your rounding options in the Settings window: if you use the option “down to” or “nearest”, then the duration might have been rounded to 0, therefore it was not synced.
I have another issue or the troubleshooting entry did not resolve my problem.
Please contact us via the Support form or ask for help in the comments below.
Something went wrong, I need to restore from a backup.
You can restore from a backup in the developer settings (last settings segment). By default, backups are saved next to the database in ~Library/Containers/com.zr.whid-mac/Data/Library/Application Support/databases/backups.